

In this tutorial, I will provide examples of how you can customize the Obsidian template vault from the Knowledge Management System for Offensive Security Professionals (KM4OSP) course.
Before continuing, it's essential to install Obsidian and complete the first three chapters of the course. It is assumed that you have an understanding of what each folder is, as well as their content.
Cloning the Repository
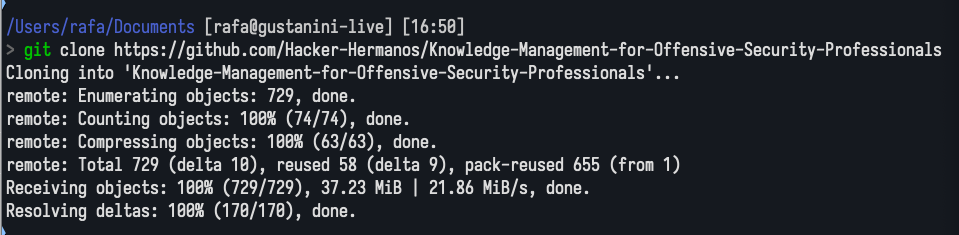
You can clone the repository to your machine using the terminal (if you have git installed) or by downloading the zipped file.
Terminal:
git clone https://github.com/Hacker-Hermanos/Knowledge-Management-for-Offensive-Security-ProfessionalsOr click here to download the zipped file: Zip Download Link.
Select the TemplateVault directory and move it out from the repository's directory into an appropriate folder of your choosing. After this, delete the repository's folder.
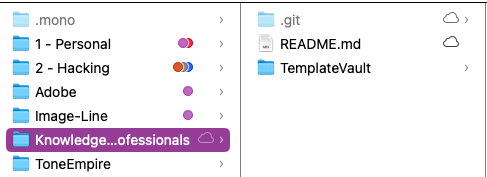

Rename TemplateVault to whatever name you want to use for your vault. I changed it to MyVault.
Updating the Vault
Open Obsidian and click Open folder as vault.
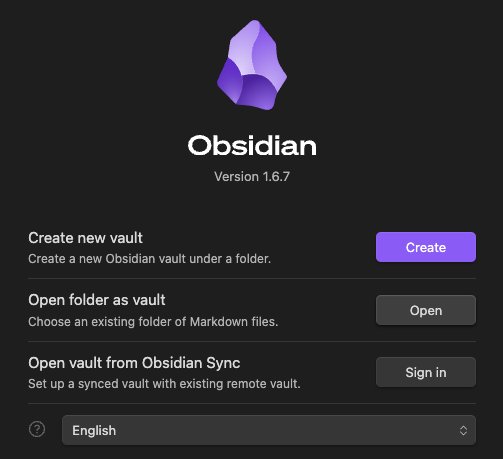
Select MyVault from your files and click open.
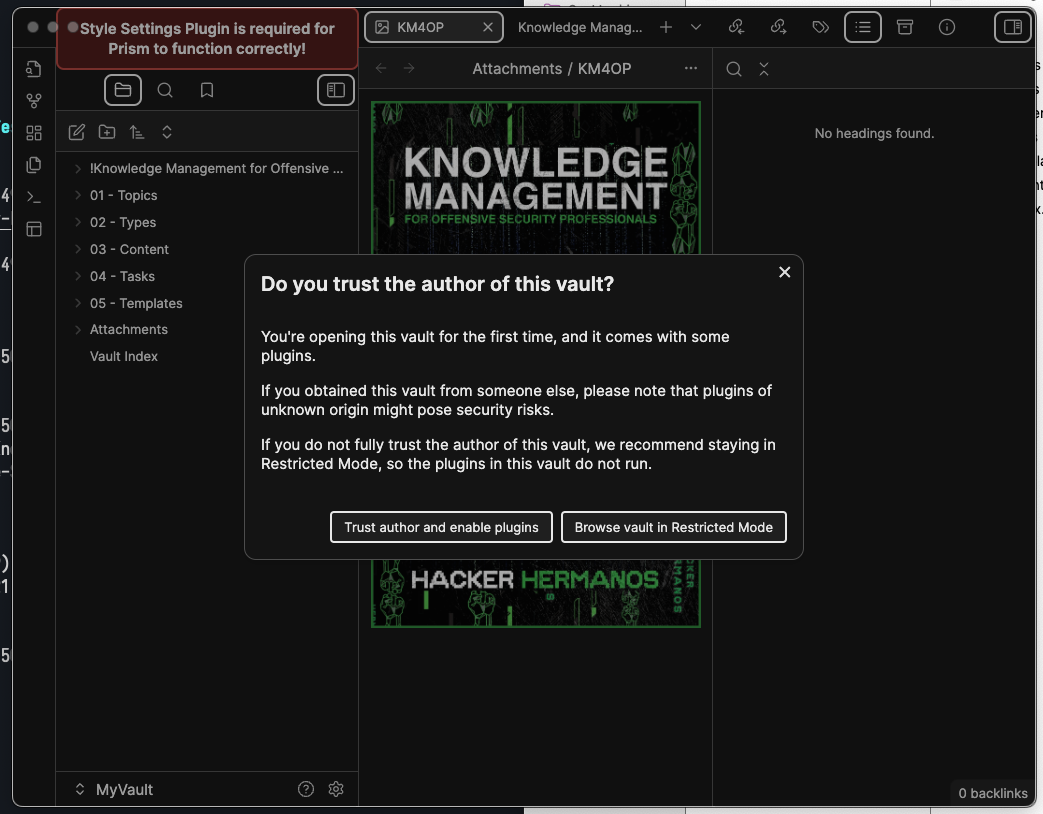
Click on Trust author and enable plugins.
This is necessary because the vault already comes with a number of plugins installed, this is discussed within the course material located in !Knowledge Management for Offensive Security Professionals.
Open the settings menu by clicking cmd + , or Ctrl + ,.
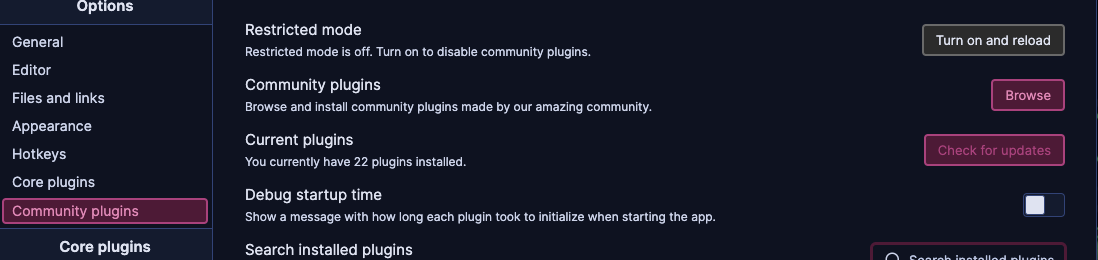
Update the community plugins by going to Community plugins and clicking on Check for updates.
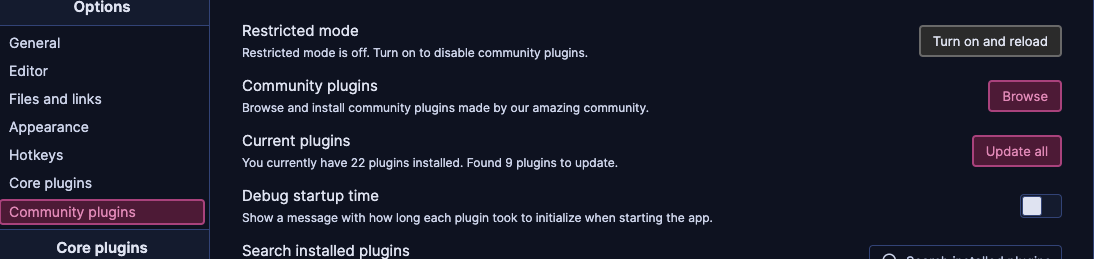
Wait a few seconds and click on Update all.
Update the theme by going to appearance and clicking on Check for updates.
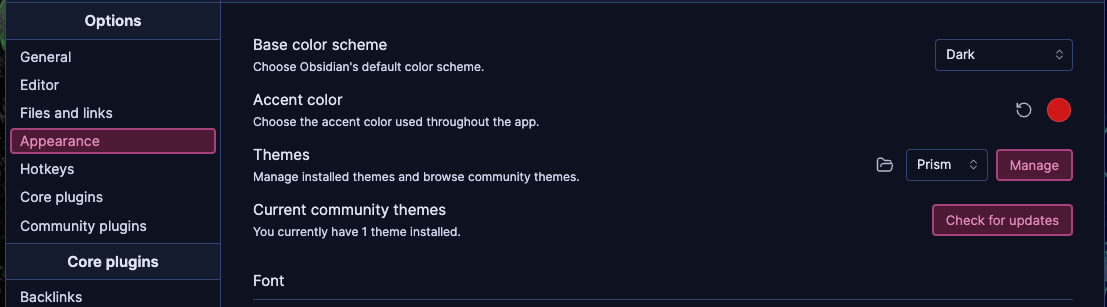
Click on Update all.

Now your vault's plugins and themes should be up-to-date. I recommend doing this every day when you open your vault.
Customizing Default Folders
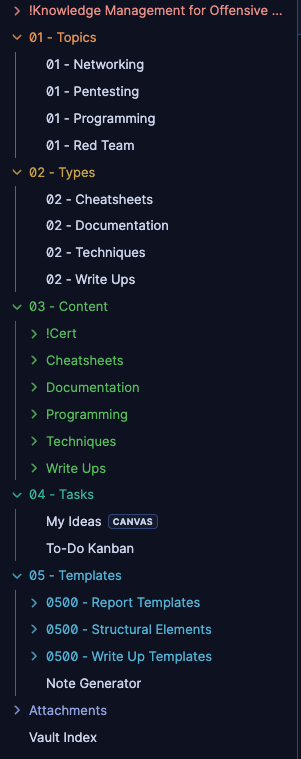
The following picture shows the default directory and file configuration that I used for the course. You might want to change this configuration to adapt the vault to your current personal needs. In this section, I will show you how I went about changing the vault's directories, note types, and topics to fit my needs upon starting my computer science degree.
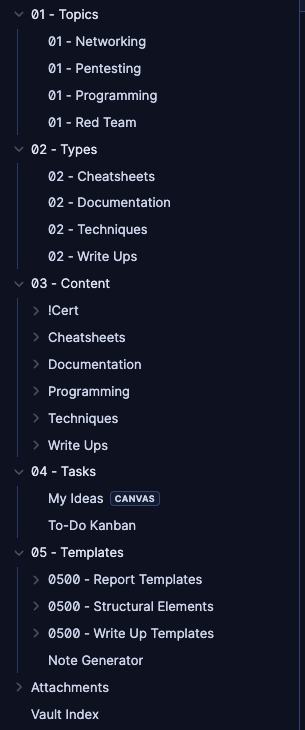
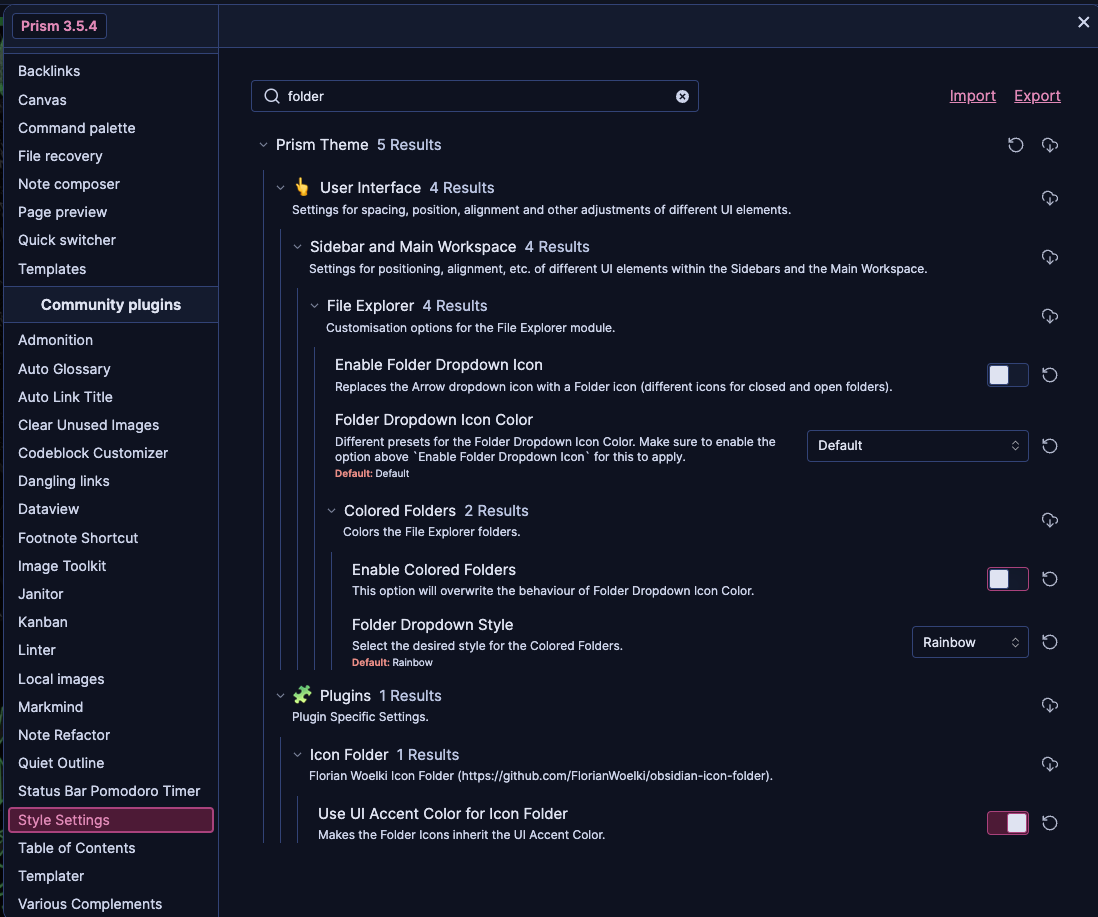
First I will configure the theme settings to make the folder structure colored.
Open up the settings (Cmd + , or Ctrl + ,, go to Style Settings and look for "folder". Toggle Enable Colored Folders in the Colored Folders section.
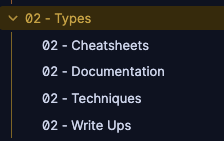
Result:
Identifying Vault Needs
Take some time to think about what kind of notes you require (depending on their structure) and what topics you are going to cover in your studies.
My Note Types include:
- Cheathseets: Self-explanatory.
- Documentation: This includes three subsections.
- Tools: Documentation for my own vault, my own custom tools, etc.
- Concepts: Everyday notes that come naturally as you take notes on your program. Example: A note on Binary Trees Data Structure.
- Hacking Techniques: Documentation on how to perform different hacking techniques. This section is specific to offensive security.
- WriteUps: Practical hacking write-ups. You could include leetcode solutions, for example, if you are studying software development.
- Journal: These are journaling notes that I decided to take everyday.
My Note Topics include:
- Data Structures and Algorithms
- Embedded Systems
- Cloud Computing
- Knowledge Management
- Computer Architecture
- Computer Networking
- Data Management
- Distributed Systems
- Mathematics
- Operating Systems
- Software Development
- Cyber Security
- Personal
After identifying these topics, you can populate your topics and types directories.
This is the result:

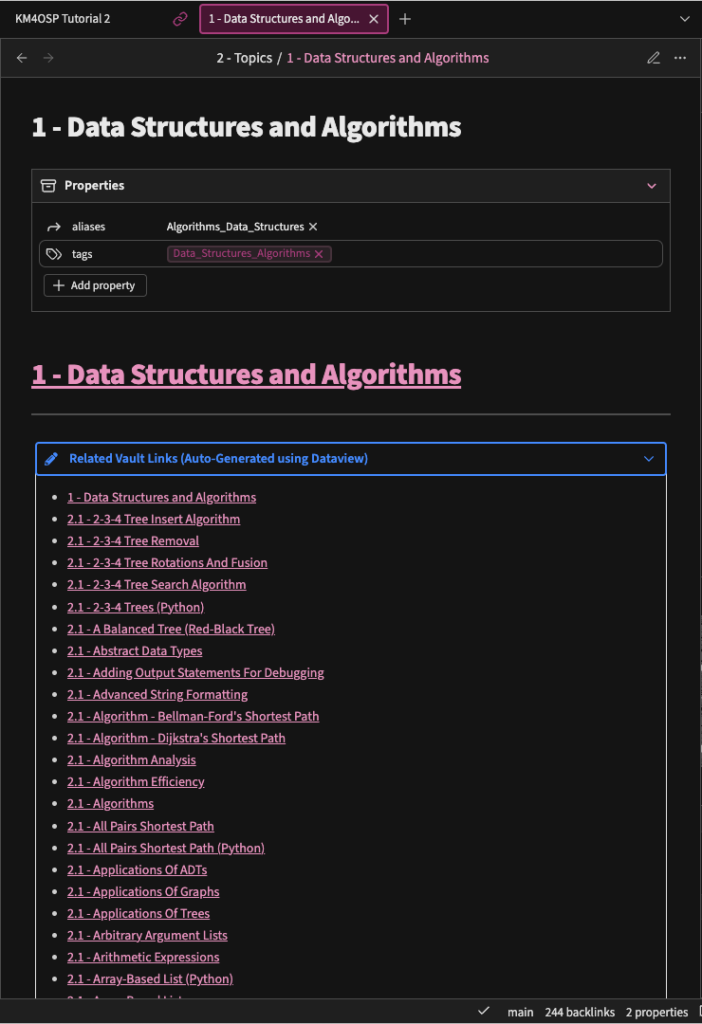
For each of the topic notes:
- I added two fields in the metadata of the file. One for aliases (not important) and one for tags. I then created a tag for each topic.
- I added a Dataview codeblock embedded in an Admonition callout.
- The Dataview codeblock contains a query to find all notes related to the current topic using tags. This will automatically update as your vault grows.
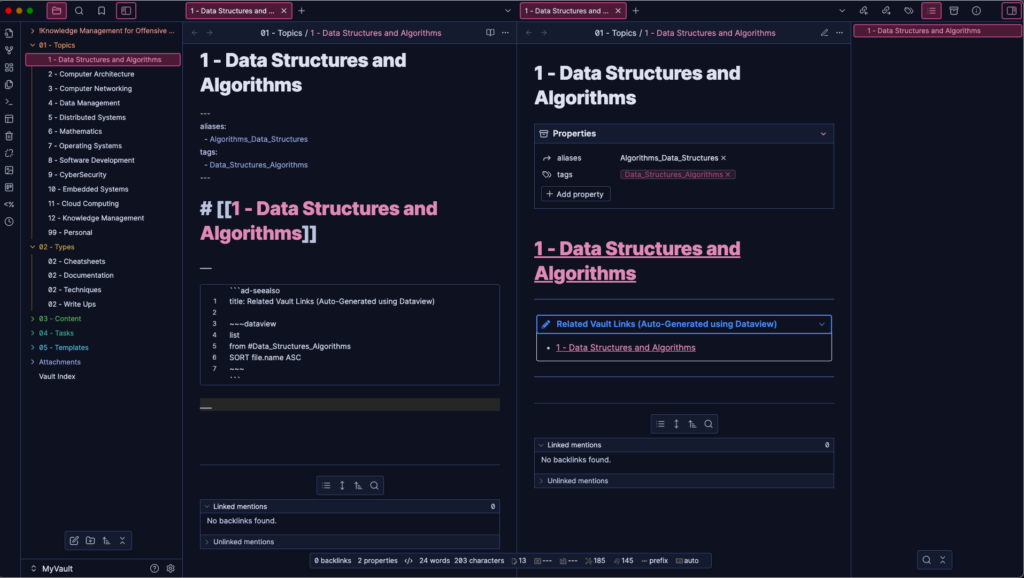
This is what the implementation looks like in my vault after taking some notes:
Modifying Templates
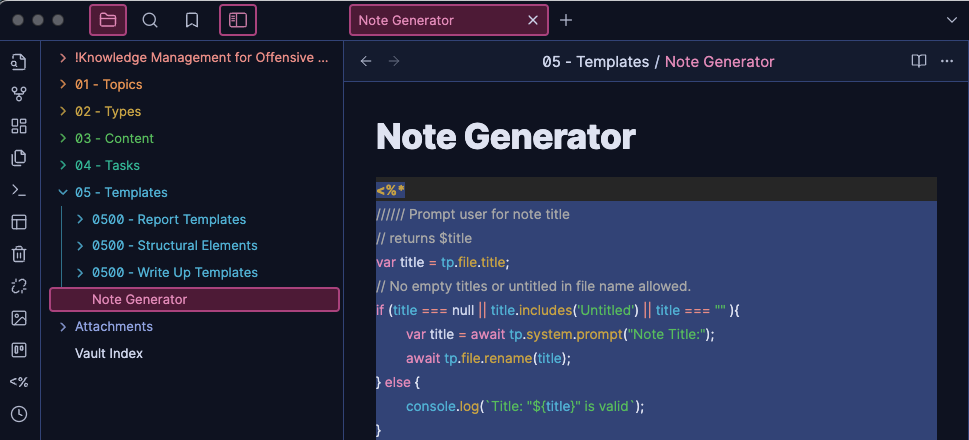
At this point you should go to the Note Generator and the various templates and update them accordingly to match your new vault configuration. I won't go over this in too much detail.
- Edit
Note Generator:
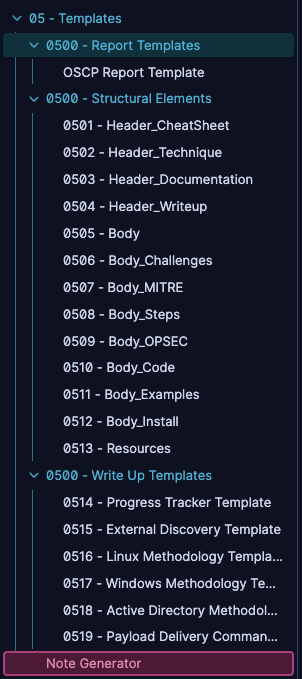
- Edit templates:
- Change Templater's configuration if you make directory name changes to ensure Templater knows where your
Note Generatornote is located.
Note: You can disable the Templater plugin if you don't want to get a prompt every time you create a new note. You can also remove all files and directories from the Templates directory and start your own Templates from scratch using the instructions provided in KM4OSP as inspiration.